I’ve been thinking a lot lately about how small regional studios can sneak a seat at the virtual production table without bankrupting themselves. The Apple Vision Pro has grabbed attention in film and creative circles for offering a high-fidelity, spatial computing experience — and while it’s not a silver bullet, it can be a surprisingly powerful, cost-effective tool for virtual production workflows if you adopt it sensibly and in phases.
Why consider Vision Pro on a shoestring?
When I advise regional teams, I focus on impact per pound spent. The Vision Pro’s strengths — high-resolution passthrough, comfortable headset ergonomics, and tight integration with Apple’s ecosystem — make it a natural fit for stages where you need immersive previsualisation, remote collaboration, and director/DP monitoring without building a full LED volume. You don’t need to replace your entire workflow: you can incrementally add Vision Pro to speed up decision-making, reduce travel, and tighten creative alignment between departments.
How I’d approach adoption in phases
Breaking adoption into clear phases keeps costs down and builds trust across the team. Here’s a pragmatic roadmap I’d use:
- Phase 1 — Proof of Concept (low cost): Buy or rent a single Vision Pro for director/creative use. Use it for virtual scouting, shot framing, and client previews. Pair it with the studio’s existing editing workstation (MacBook Pro or iMac) and a cheap capture workflow (Blackmagic capture card + OBS or Blackmagic ATEM Mini).
- Phase 2 — Tools and integration: Invest time in integrating Unity or Unreal Engine projects with Vision Pro viewing workflows. You don’t need a full on-set Unreal LED pipeline yet; lightweight scenes exported as GLTF or streamed via remote rendering can be used for previs and techvis.
- Phase 3 — On-set augmentation: Add one more Vision Pro for DP and key creatives, implement NDI streaming for camera feeds, and create simple AR overlays (focus peaking, frame guides, virtual backgrounds) to be used through the headset during takes.
What to buy, rent or reuse
On a tight budget you must prioritise hardware that'll give immediate returns. I’d consider:
- One Vision Pro: Either purchase outright if budgeting allows, or rent by the week for specific shoots and tests.
- Mac-based workstation: A MacBook Pro with M2/M3 is enough for many tasks and keeps the ecosystem smooth. Mac Studio if you frequently run heavy Unreal scenes.
- Capture and streaming kit: Blackmagic Design ATEM Mini (for HDMI switching and streaming), Blackmagic UltraStudio or Intensity for capture, and an affordable HDMI capture dongle for redundancy.
- Cameras: Use your existing cameras — Blackmagic Pocket Cinema 4K/6K, Sony a7-series, or even high-end mirrorless — and feed HDMI to the ATEM or capture card.
- Network: Invest in a robust local network (Gigabit switch, wired connections) rather than expensive cloud render time. Low latency on-set streaming matters more than raw bandwidth.
Low-cost workflows that actually improve production
Here are practical, budget-friendly ways Vision Pro can slot into what you already do:
- Previs and virtual scouting: Instead of flying to locations or building physical mock-ups, load a 3D scan or rough 3D set in Unity and let the director wear the Vision Pro to walk through blocking, lens choices and lighting ideas. Even simple scans from an iPhone can be valuable when visualised in spatial scale.
- Creative monitoring: Let DP and director preview lighting setups via passthrough augmented with virtual references (exposure preview, LUT overlays). It removes the “it looked fine on my monitor” problem and shows the shot in context.
- Remote client participation: Instead of transporting stakeholders to set, stream a spatial view to their Vision Pro (or to a mirrored video call). This reduces travel and keeps approvals moving.
- Techvis and framing: Use Vision Pro to visualize camera tracking data and lens metadata overlaid in real time — helpful when you can’t afford an LED wall but need to test plate alignment or parallax effects.
Software and integration tips
You don’t need to rewrite your pipeline. A few well-chosen tools make Vision Pro far more useful:
- Unreal Engine and Unity: Both engines support workflows for spatial viewing and remote rendering. Build a simplified version of your scene for realtime interaction — lower fidelity but correct scale and lighting is the goal for previs.
- NDI and SRT: Use NDI for internal camera streaming or SRT for secure low-latency feeds. These protocols make it easy to route camera feeds to monitoring machines that then broadcast to the Vision Pro via a companion app.
- Syncing and timecode: Ensure your camera and audio roll are timecode-synced. When you view takes in the headset you want frame-accurate reference, not a lo-fi delayed stream.
- Off-the-shelf apps and custom builds: Look for off-the-shelf spatial viewers and “remote desktop” style apps built for Vision Pro first, then consider small custom Unity builds to overlay production metadata (slate info, focus distance, markers).
Budget table — rough numbers to plan
| Item | Estimate (GBP) |
|---|---|
| Vision Pro (purchase) | ~4,000–5,000 |
| MacBook Pro (used/entry M2) | 1,200–2,000 |
| Blackmagic ATEM Mini + Capture | 300–800 |
| NDI-compatible router / switch | 150–400 |
| Misc cables, adaptors, mounts | 100–300 |
| Optional: second Vision Pro (rental) | 300–600/week |
Ways to stretch a small budget further
I’ve seen regional teams make the most of limited funds by being creative:
- Rent before you buy: Rent a headset for a week of prep to validate the idea — it’s the fastest way to test team buy-in and technical viability.
- Partner with local universities: Film and computer science students often want access to hardware for projects; you can trade mentorship or small production work for help porting scenes into engines.
- Open-source and community assets: Use free/low-cost 3D assets and HDRI packs for initial tests. You don’t need bespoke environments to test spatial scale and framing.
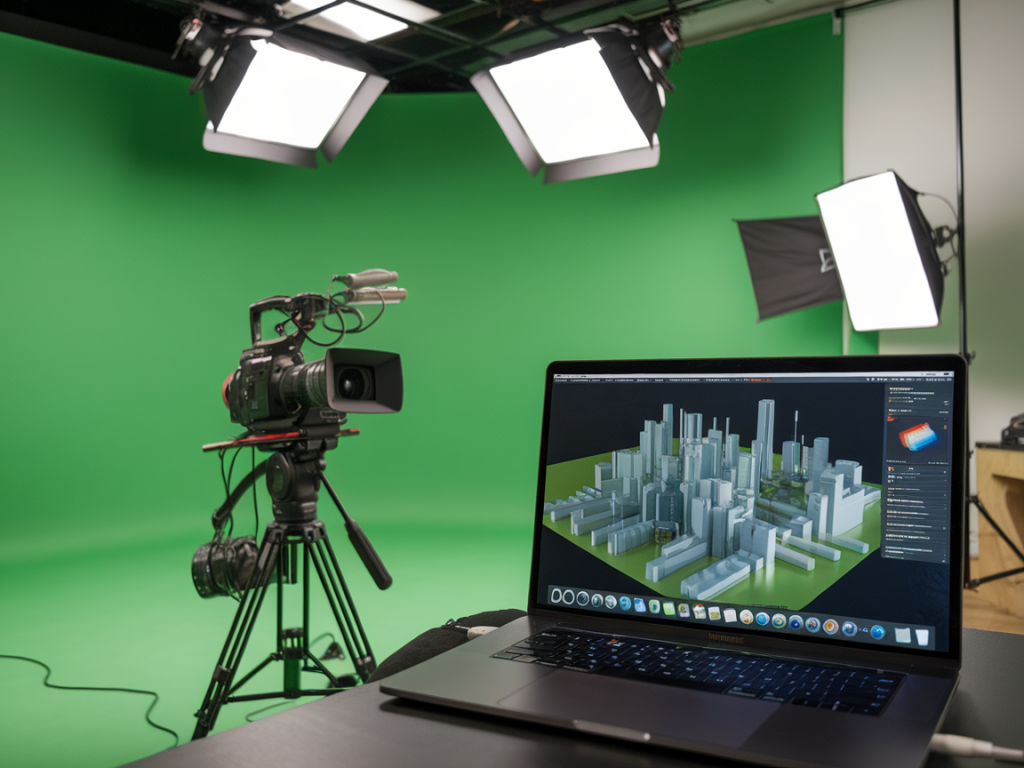
- Hybrid setups: Combine the headset for creative tasks and inexpensive green-screen or projection for actual shooting, saving big compared with LED volumes.
What to avoid
There are a few pitfalls I’d steer clear of early on:
- Buying multiple Vision Pros before proving the workflow — that’s capital tied up without guaranteed returns.
- Expecting the headset to replace an LED volume. It’s a complementary tool, not a wholesale substitute for on-camera background realism when you need real-time reflections and interactive lighting.
- Overcomplicating integration. Start with simple scene exports and live streams, then layer in tracking, LUTs, and metadata as you prove value.
Adopting Apple Vision Pro on a shoestring is less about the headset and more about changing how decisions are made on set: faster previews, clearer client communication, and tighter creative alignment. With a phased plan, smart use of existing cameras and capture gear, and an emphasis on software workflows that scale gradually, a regional studio can gain many of the benefits of virtual production without the cost of a full LED build-out.